
Let’s face it (literally), everyone loves a good selfie! But not everyone knows how to take one like a social media master. So when you want to see how your complexion improved over time , it’s critical to have the proper “Before and After” photos of your skin.
Yes, you’ll probably take dozens of fails before you find a few perfect shots, but that’s just how it goes. Thankfully, we’re here to simplify that process with some of our best tried-and-true photo tips. You don’t need a professional camera to take professional-quality photos, you just need to follow our simple do’s and don’ts that’ll have you snapping some glowing selfies of your skin in no time!
DO
- Remove makeup
- Keep hair away from your face
- Choose a well-lit room with a neutral background
- Focus your camera for a clear shot
- Use the same background/positioning in your “Before” and “After” pics (full face, side profile, close-ups of lips, lashes or problem areas)
DON’T
- Wear makeup
- Leave hair in your face
- Use a filter, retouch blemishes or make edits
- Take a picture in poor lighting
- Choose a blurry or unclear photo

It all comes down to these 4 major steps: prep, lighting, positioning and staging.
- Prep your camera by giving the lens a quick wipe to remove any smudges or debris.
- Find the best lighting, whether that’s in front of a window using natural sunlight or if you choose to invest in a ring light for optimal indoor lighting. Don’t forget to keep your background clear — we recommend using a plain, neutral-colored wall.
- Play with positioning to find your sweet spot. Take some photos of your full face, your side profile and close-ups of problem areas that you may want to compare in more detail.
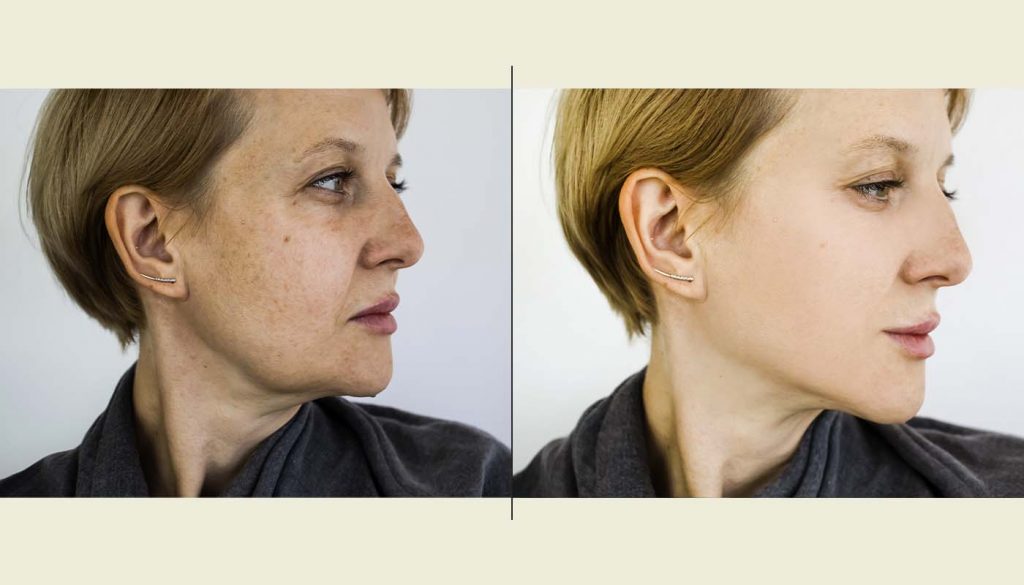
- Be sure to keep your staging the same in both the Before and After photos — this is key for consistency when comparing results. Make sure to use the same lighting, background and angles for your After pic as you used for your Before pic. That way, when you look at both side by side, you’ll be able to clearly see the difference!
Ready to get your private photoshoot on? If you’ve been using any of our Lucim™ family of products, this is your opportunity to show us how they’ve worked for you.